
Hello everyone, thanks for stopping by! A brief introduction before we jump into the content.
My name is Jazzie. I’m an experienced front end web developer and newbie to the cybersecurity world.
Prior to being either one of those things I am a pediatric nurse!
What brought me to cybersecurity you ask? A breach at my local hospital. We ended up having a little seminar on safety, privacy, confidentiality etc and the rest is history.
My long term goals include having my own business with a focus on penetration testing/hacking and a platform where I can educate others on staying safe and protecting their digital rights.
Alright so now that the hellos and handshakes (haha tech humor) are out of the way – let’s dive into the material shall we?
I’m taking a 3 month penetration testing course and needed a place to catalog everything I was learning. I decided to do so here. I figured anything I learn may help someone else, not to mention content creation is a great study tool.
Over the course of the next 3 months we will cover everything from basic Linux to the legal side of penetration testing.
You can expect a post from me weekly as each group of lessons is designed to take one week. You can sign up for post updates below or you can follow me on Instagram to stay up to date.
Alright enough blabbering…
What This Post Covers:
- Week One Objectives & A Brief Summary of Each
- Everything I Did The Day Before Beginning The Course
- Resource Links + Screensnips To Help Others Install Software
Week One Objectives:
- Set Up a Penetration Testing Environment
- Learn How to Take Notes for Pen-Testing/Tech Courses
- Begin Introduction to Linux

Objectives Overview
Setting Up A Pen-Testing Environment
Installation of Software (if you haven’t done so already) and introducing the aspects of setting up each appropriately with the intent to build on those later on in the course.
Note Keeping for Pen-Testing
Discussing the importance of note keeping as a pentester. Will also introduce Kali Linux built in note taking application called KeepNote and discuss how to use it with the intent to use it as the course continues.
Introduction to Linux
Covering important Linux terminal commands needed in Kali Linux as a pentester.

Course Prep
Download All Appropriate Software:
- Kali Linux, VirtualBox or VMWare, Note Keeping Software Should You So Choose
I already had VirutalBox as I am on Windows OS and had been playing around with Linux previously (by playing around I mean changing my desktop background). I actually installed VirtualBox because I was getting sick and tired of Windows and wanted to test out installing and using LinuxMint.
Here’s what Virtual Box looks like post install. Same screen but no virtual machines…
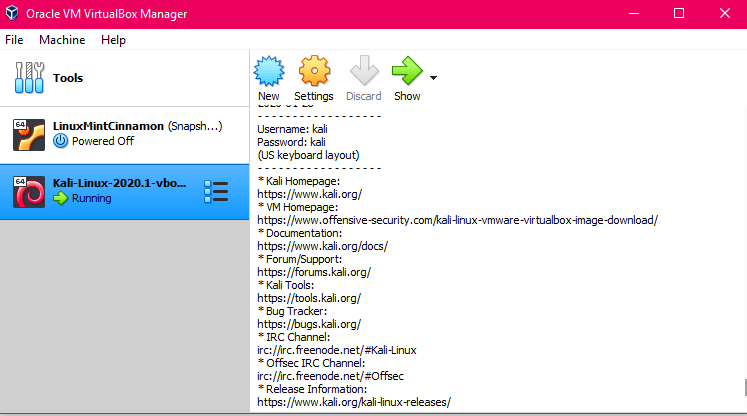
Here’s a link for reading more about Virtual Box: but basically it is a virtual machine that you can install on your PC and it allows you to run other operating systems (ex: Mac or Windows) within your current operating system which is really sweet. It’s also good for penetration testing and hacking. There’s so many cool things about virtual machines but that’s not what this post is about so instead I’ll just provide you with a link where you can read more about them here
The next step was to install Kali Linux VMWare Custom Images from Offensive Security at this link:
I installed the 64bit version. And when installing software you want to make sure you are using the bit that works for your system.
Tip: You can find your system bits in Windows 10 by right clicking on the start menu and clicking System then scroll down to System Type. In Mac you can do this by going to: About This Mac and then System Report.
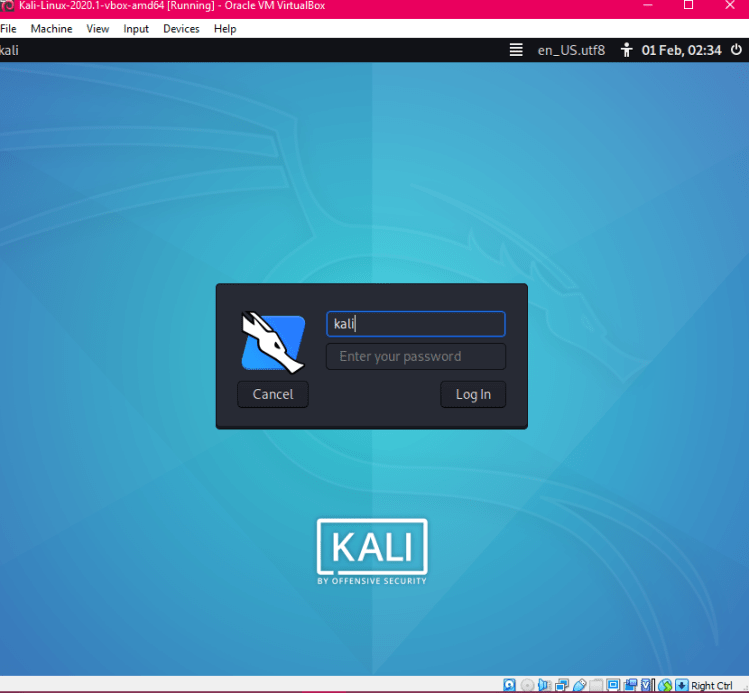
Here’s a photo of Kali Linux post starting on my VM (virtual machine) and after logging in:
A word on Note Keeping – Kali Linux comes with Cherry Tree! However I chose to follow along using the same note keeping application as covered in the course which was Keep Note.
You can read more about KeepNote here
After everything was up and running – there wasn’t anything else to do but have a drink and get cozy before learning begins.
The installation process was not difficult at all.
Just have to make sure you have some great resources and since I have supplied all legit links – it should be no problem for you!

Wrap-Up
- Install everything before you begin your course material
- Download the VB Extension Pack
- Read a little info on each – do a beginner tutorial or two, read about settings etc.
- Keep your paths for finding your files simple
- Know your bit version prior to installing anything
- Use the links in this blog super quick!
Resource Links:
Keep Note: Click Here
Kali Linux VMWare/VirtualBox: Click Here
Virtual Box : Click Here
VirtualBox Extension: Click Here
That’s it for Course Prep! Tomorrow begins the real fun! Excited to have you all with me.
If you’d like to be notified of my next post please submit your email at the bottom of my blog.
That’s it for Course Prep! Tomorrow begins the real fun! Excited to have you all with me.
If you’d like to be notified of my next post please submit your email at the bottom of my blog.
Follow me @bytesizedbabe on IG
Follow me @_quiddity_ on Twitter
